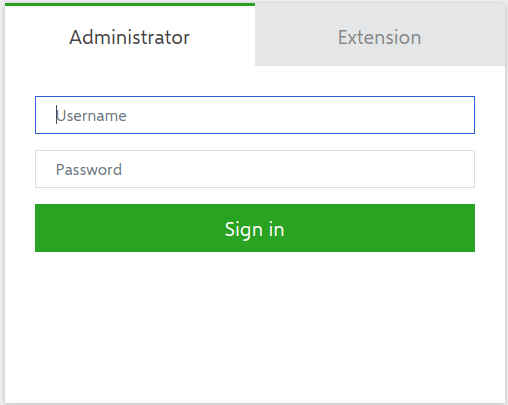
Go to your PBX interface: my.mixvoip.com
Enter your logins: username and password.

Access the Extension section. Add a new extension.
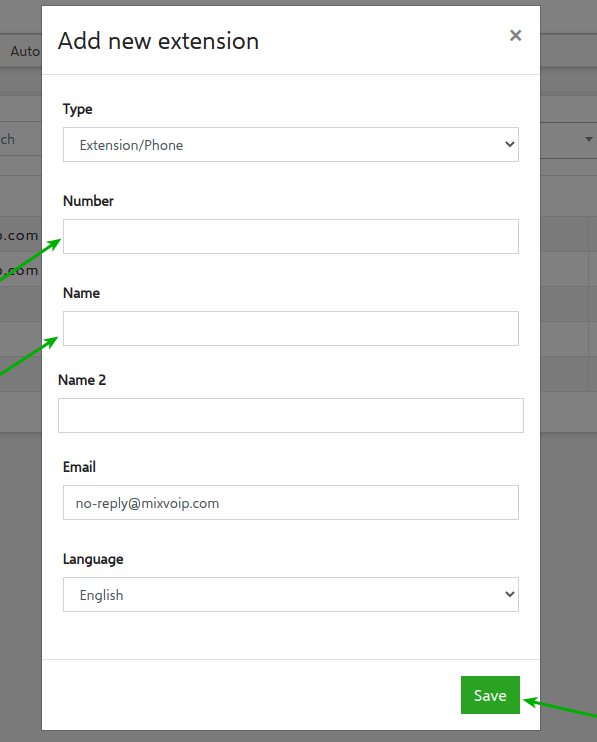
Number Enter the number you want to assign to the phone (except 112 (ambulance) and 113 (police)).
Mac Enter the Mac address that’s written on the back of the phone (begins with 0015xxxxxx).
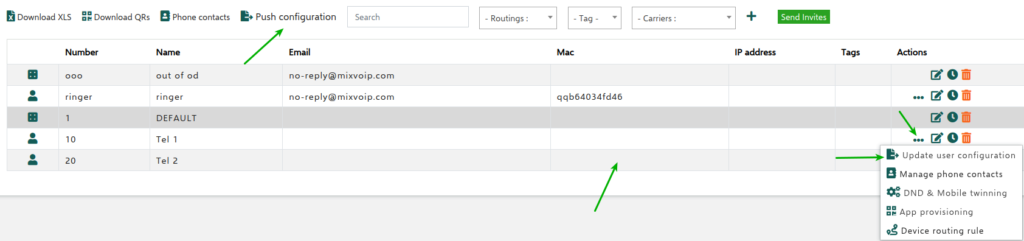
Click on “…” and PUSH the configuration.
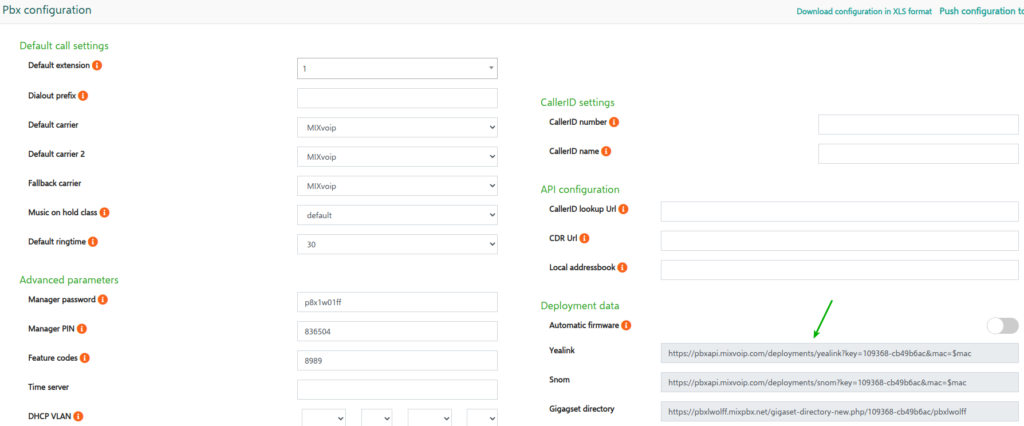
Go to the Configuration section and copy the provisioning link and replace “snom” with “yealink” in the link.
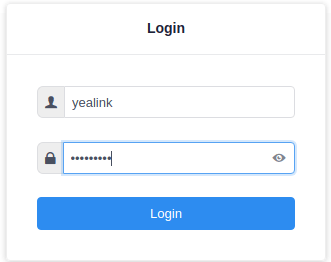
When you’ve copied the provisioning link, go to the phone Webinterface. Access the Webinterface of your Phone by entering the IP address in your Browser.
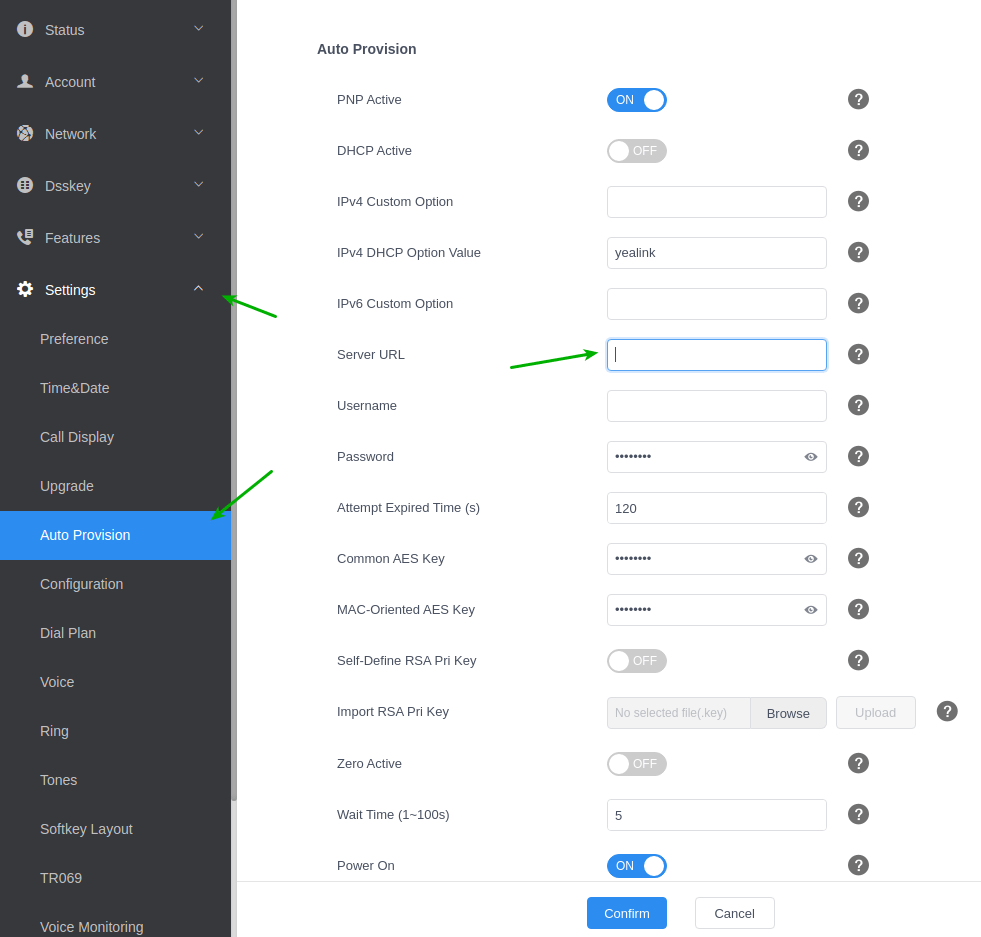
Click on Settings then Auto Provision and paste the link in the “Server URL” field.
After pasting the link click on confirm and reboot your phone.