Adding Contacts
Log into your ownCloud account by entering the credentials provided by Mixvoip
After successfully logging in, you will be redirected to the main ownCloud page.
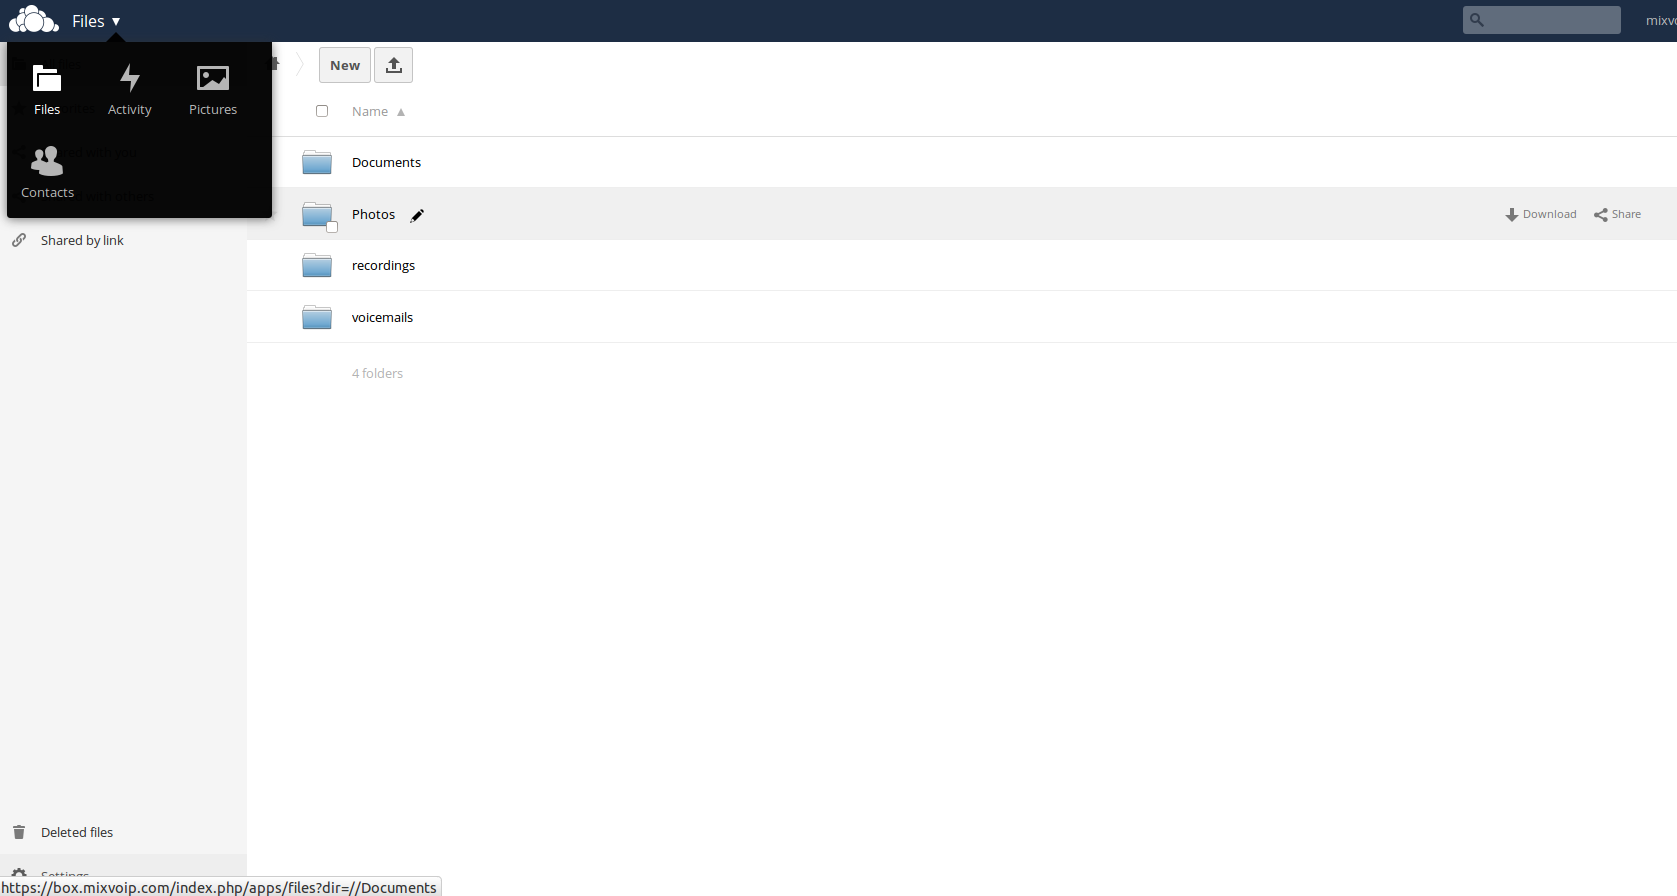
Click on the far left upper corner to display ownCloud’s menu. In this menu, click on “Contacts”.
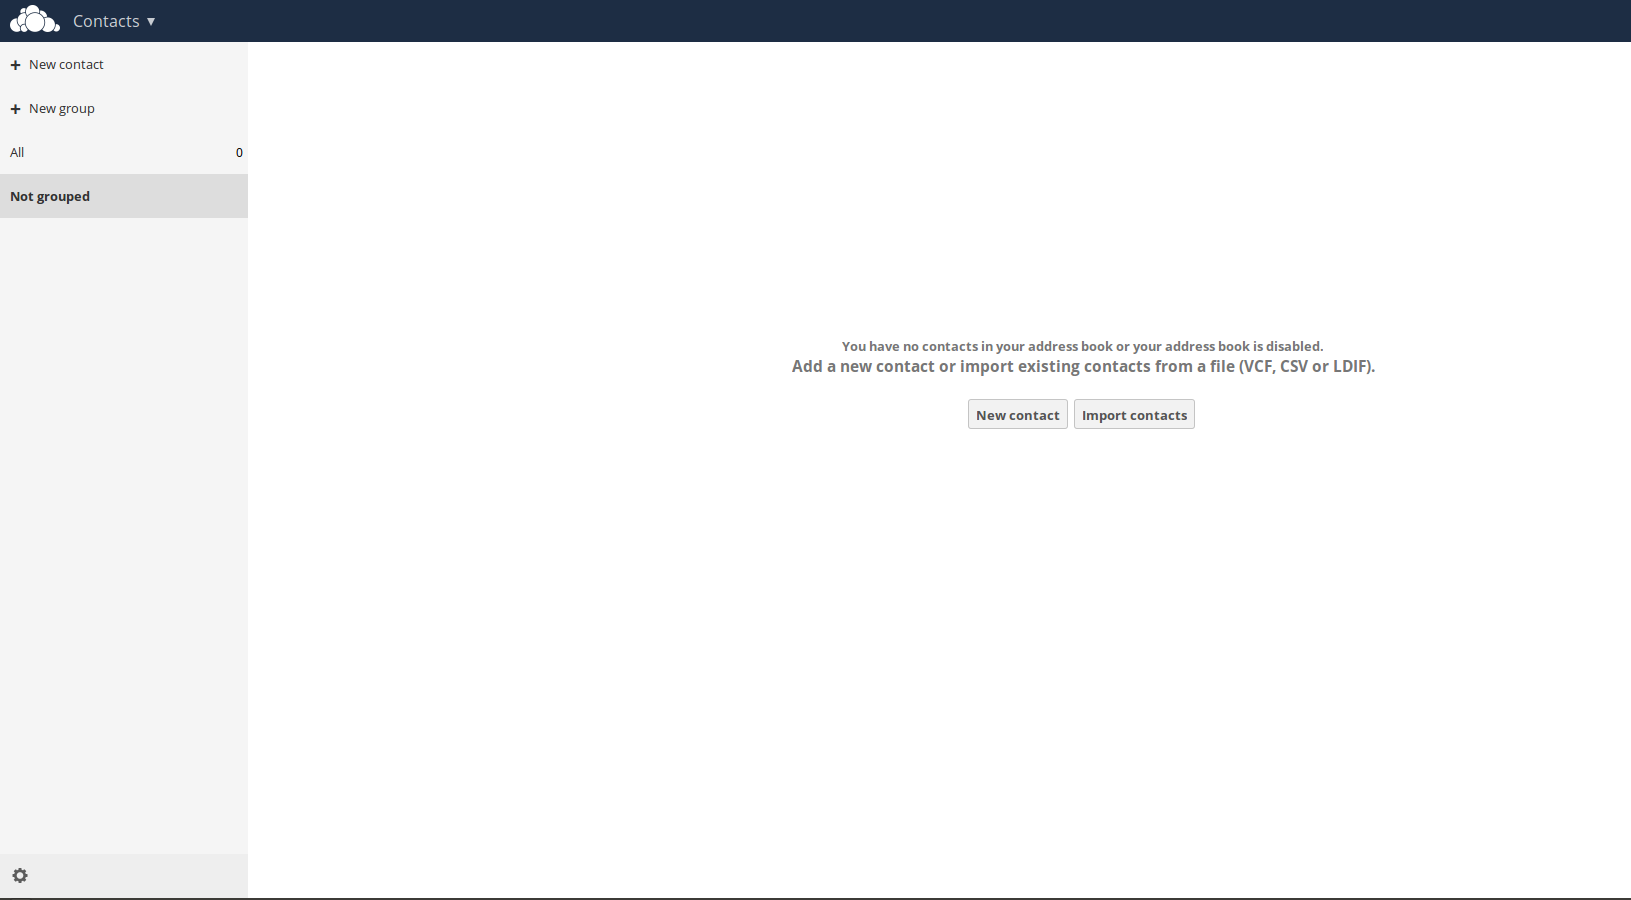
This section allows you to create new contacts by clicking “+ New Contact”.
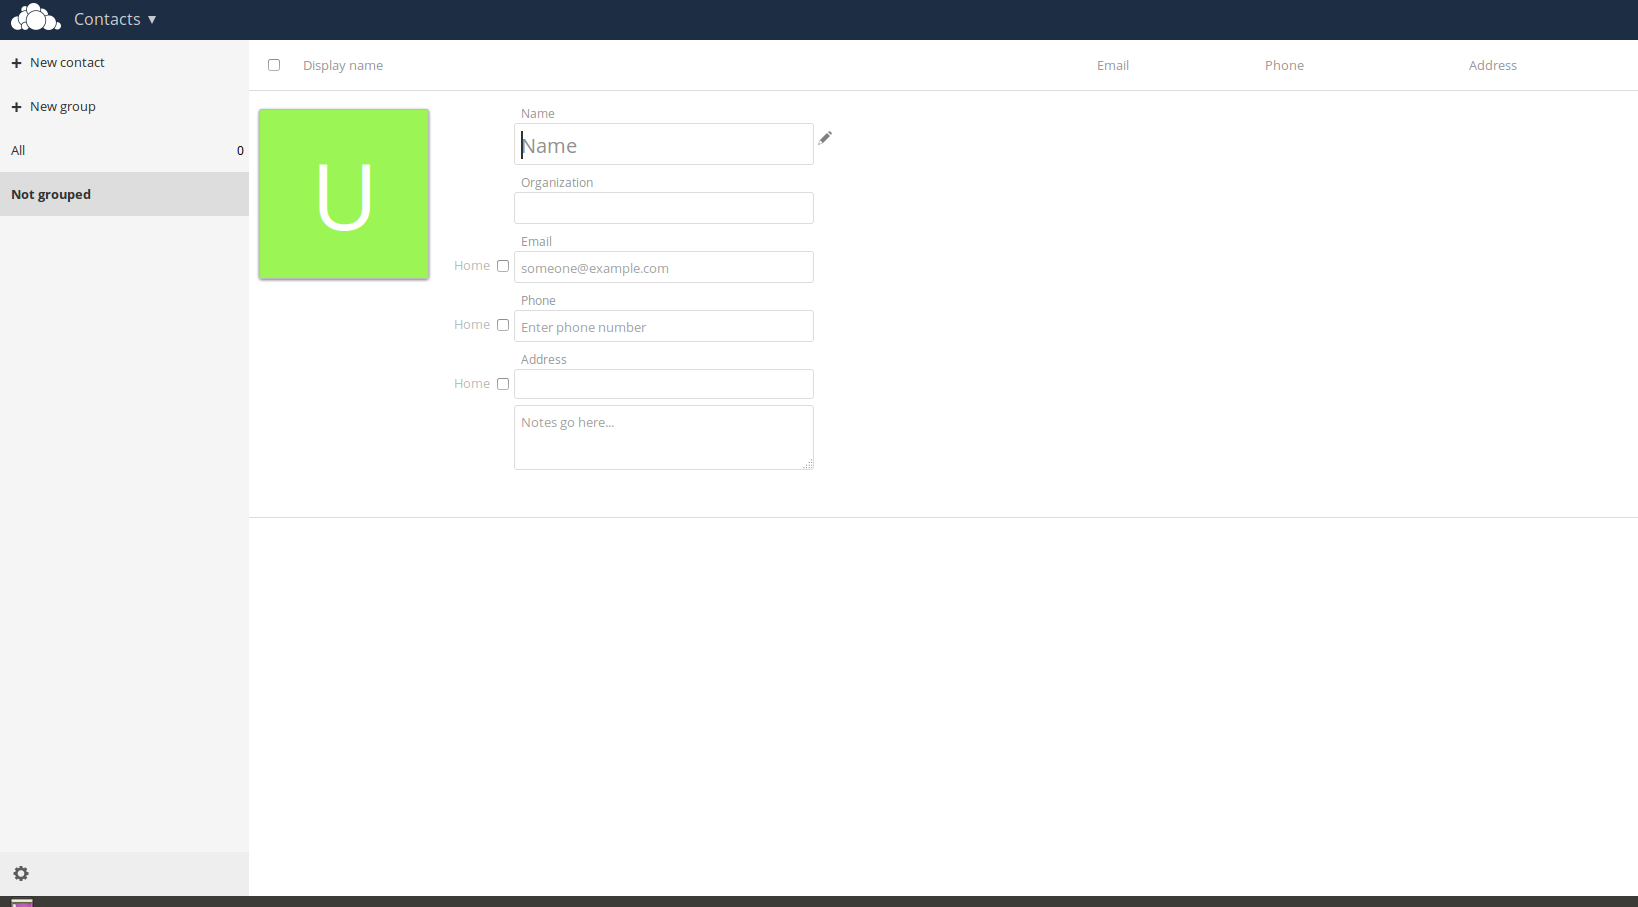
This will get you to a page where you have to insert the details of a contact. When you are done, click on “Close” and your contact will be saved.
Synchronize ownCloud contacts on your smartphone.
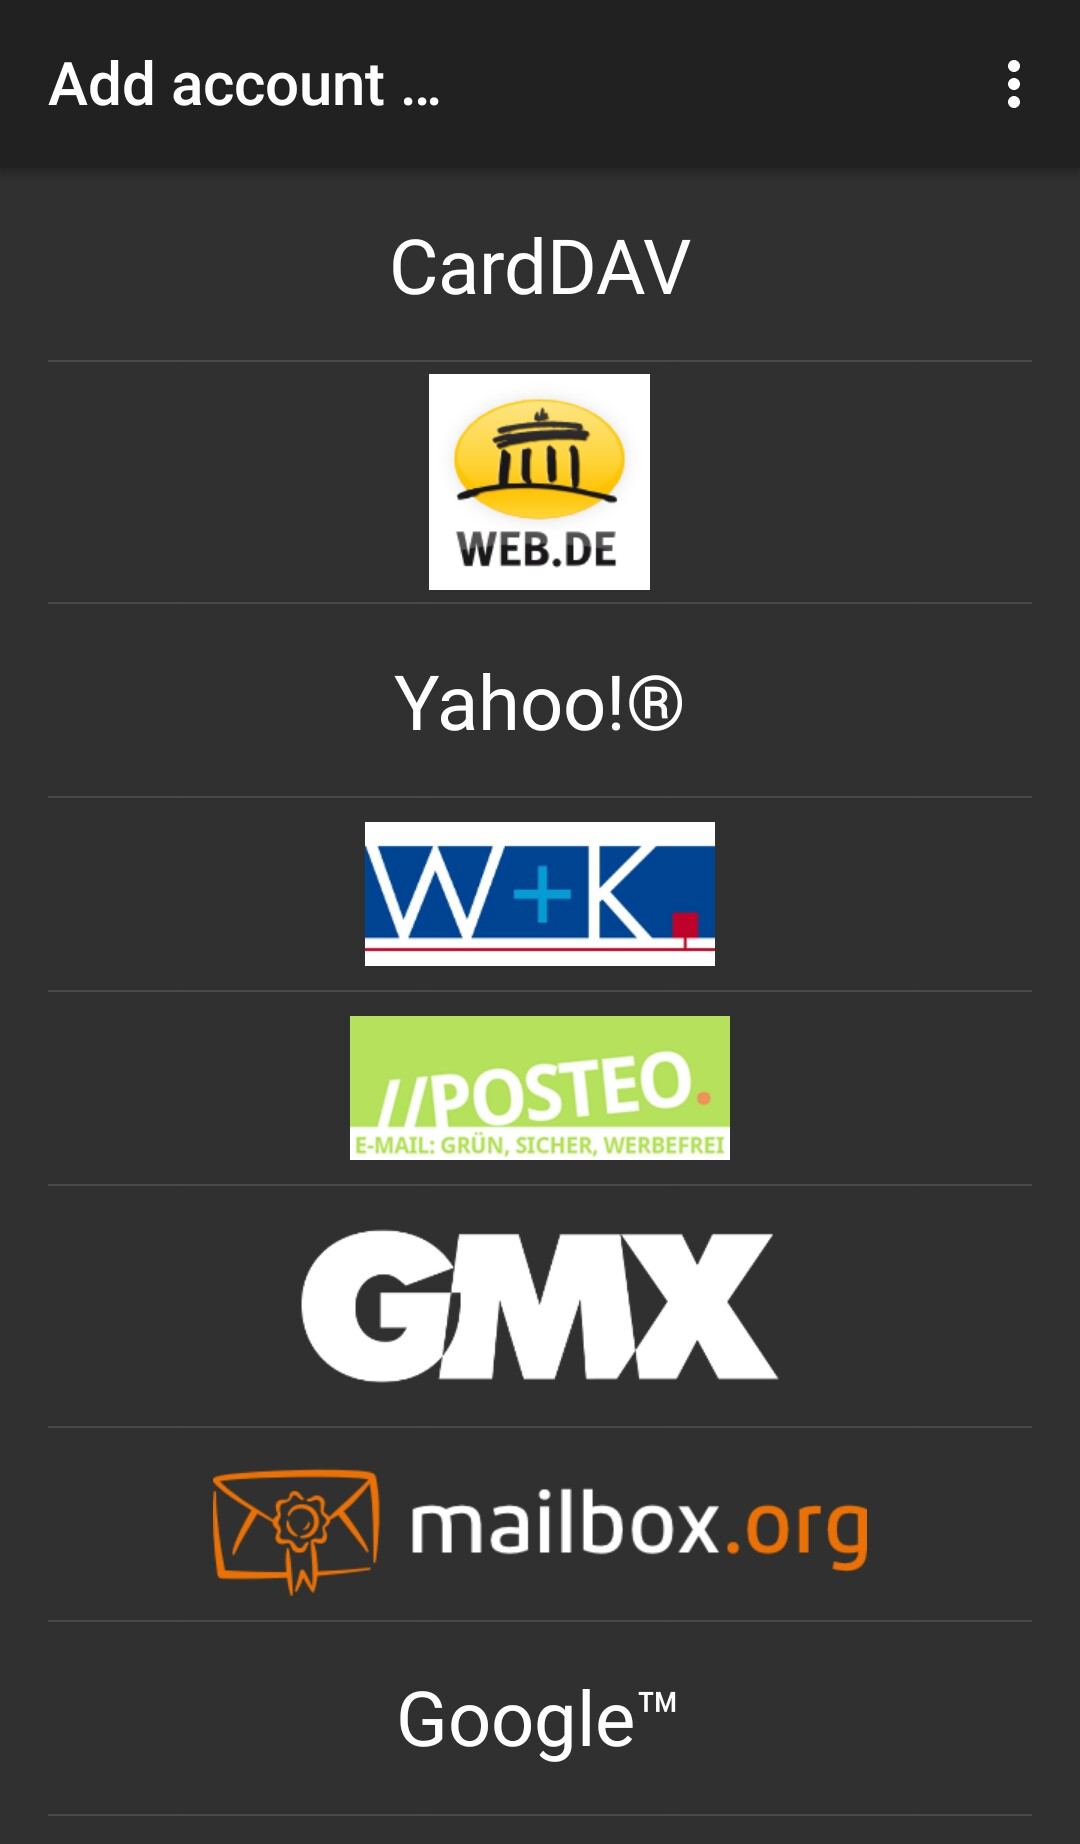
Android
To synchronize contacts, you have to install and configure “CardDAV-Sync free”.
Enter PlayStore and search for “CardDAV-Sync free” or just click on this link:
Follow the installation instructions.
Launch the application and tap the CardDAV option.
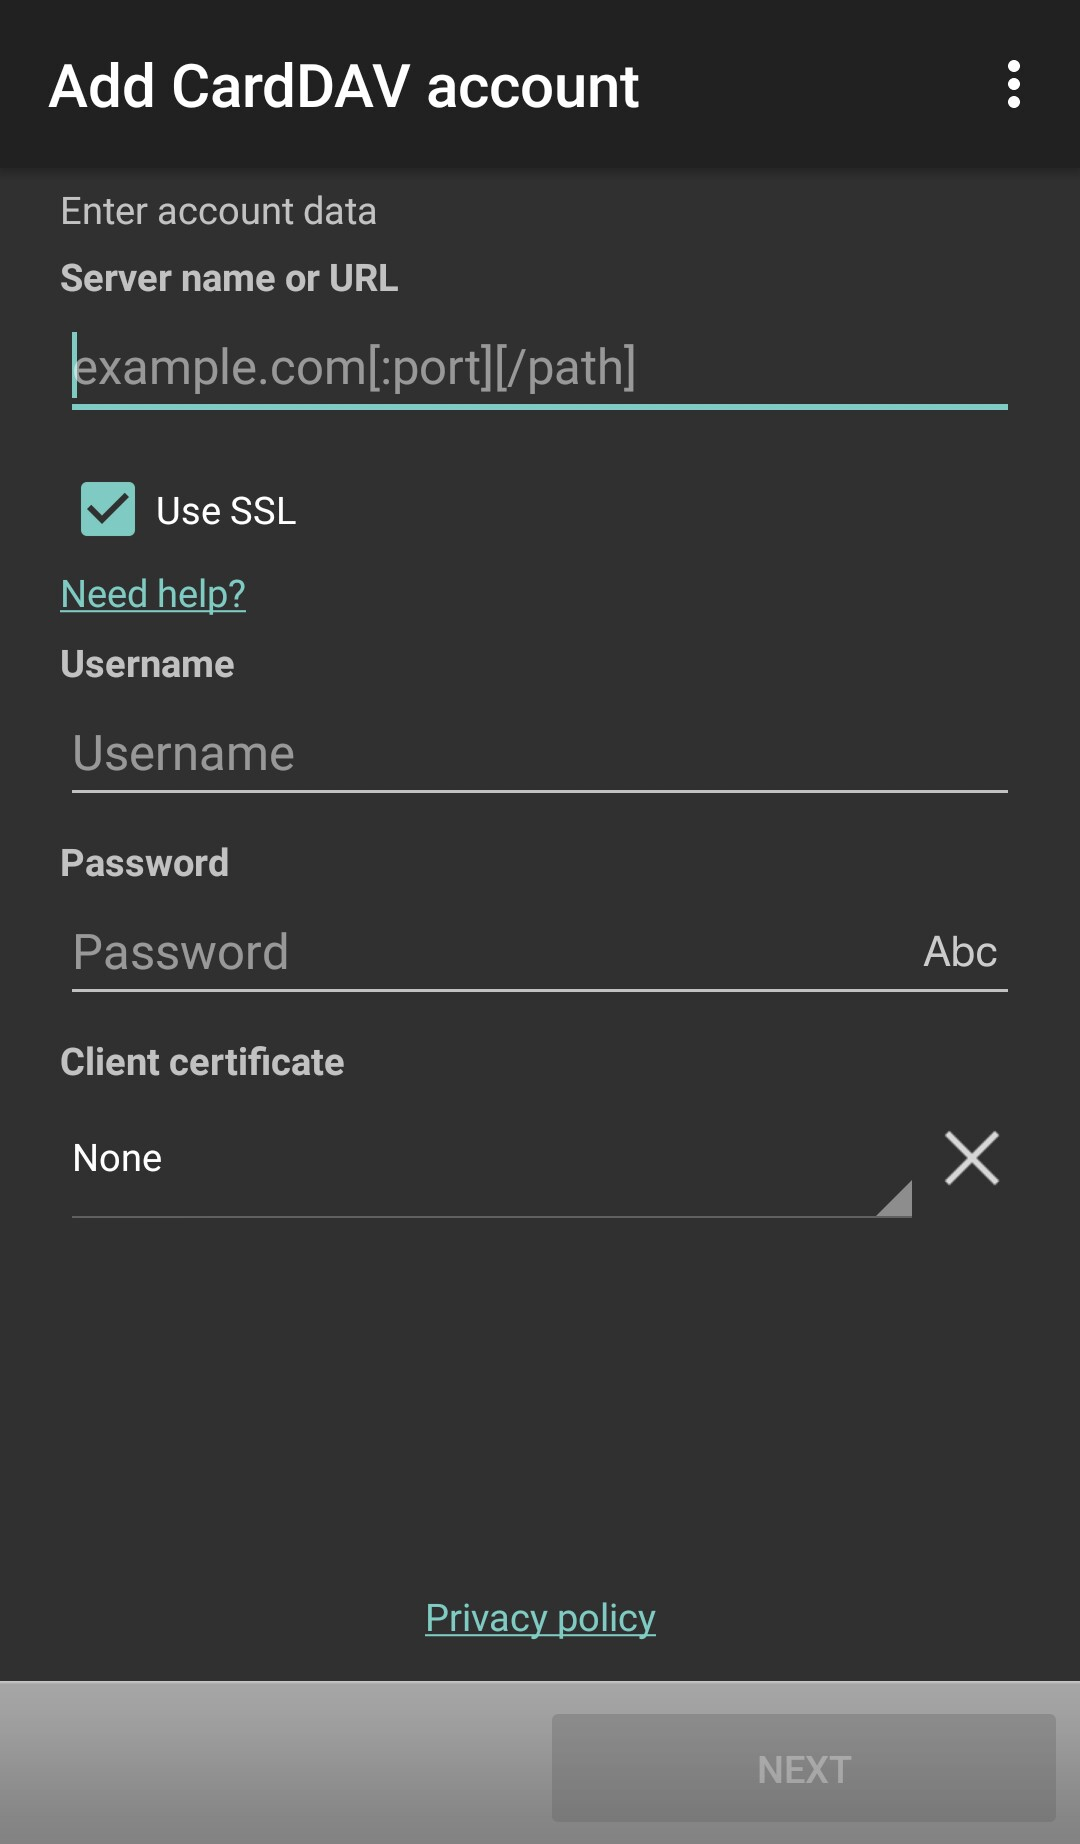
In the next window, you will need to indicate the server information. This information is provided by Mixvoip.
Once all the settings are configured, click the “Next” button.
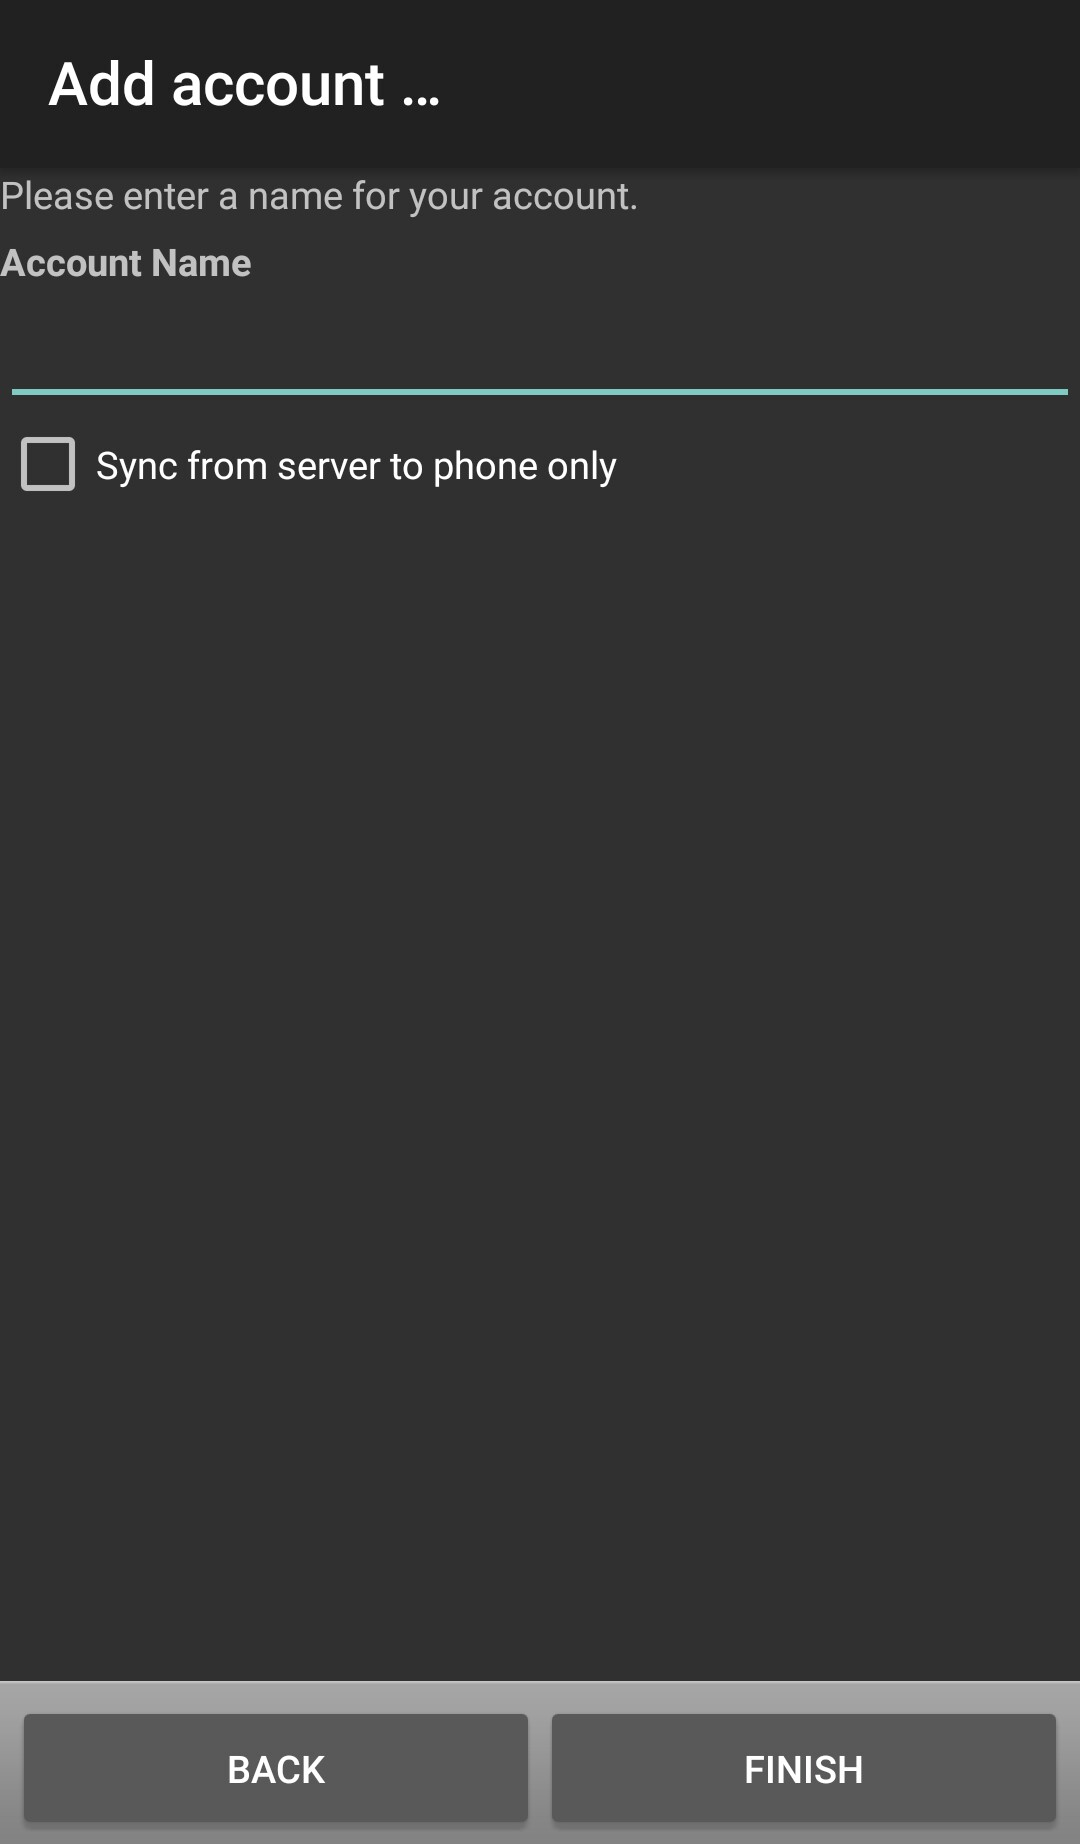
Feel free to choose your account name and ensure the option “Sync from server to phone only” is checked. Tap “Finish” once you’re done.
Now your ownCloud contacts will appear in your phone’s contacts.
iPhone
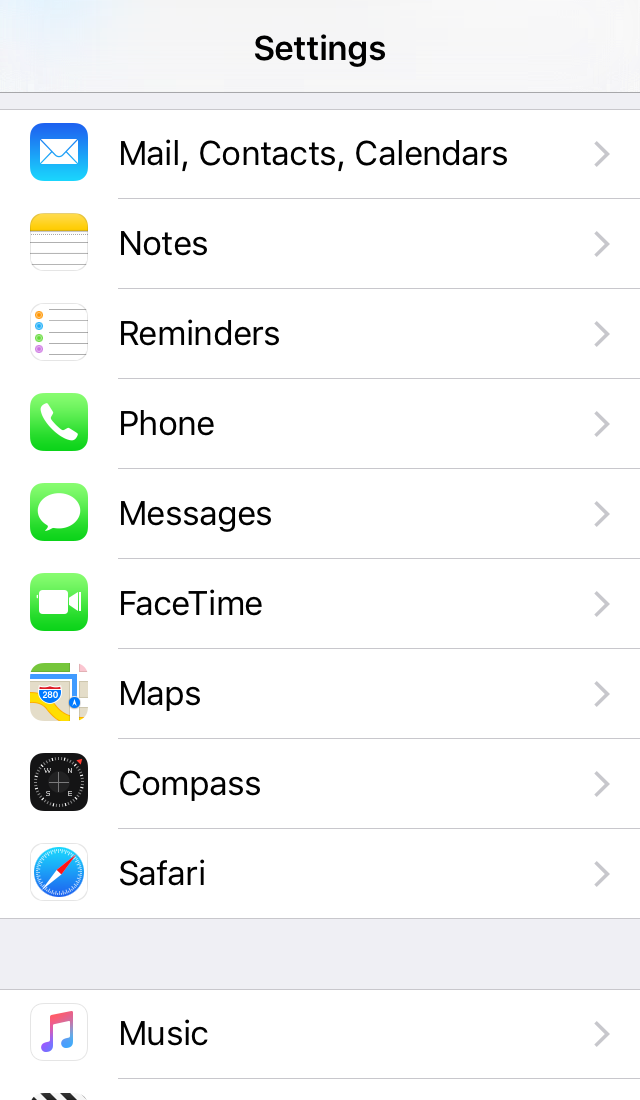
Tap the “Settings icon”.
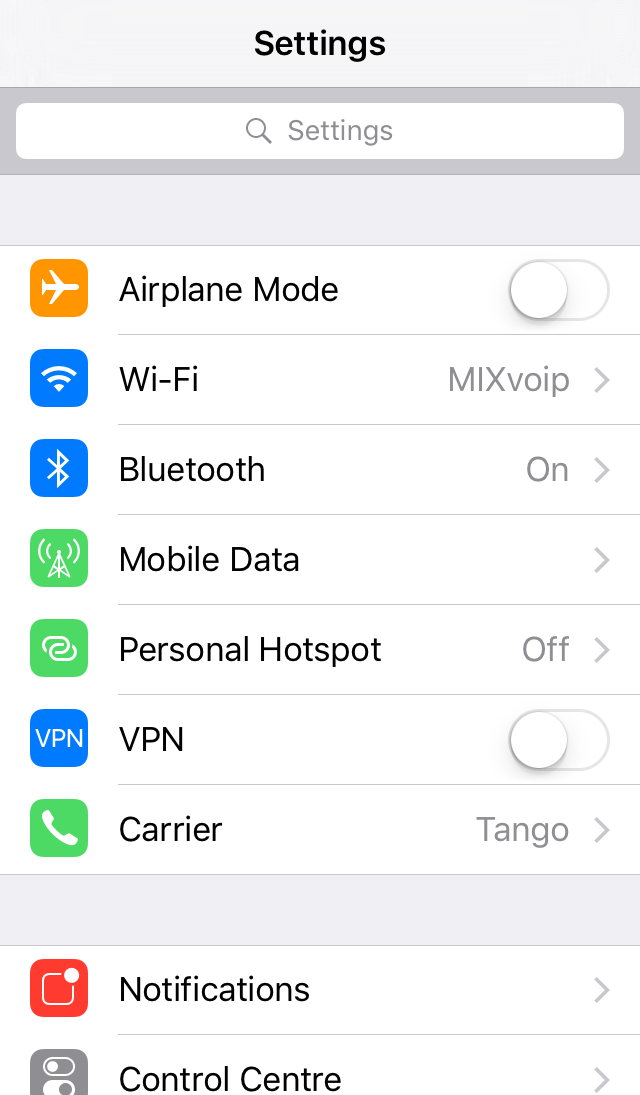
Scroll down and tap “Mail, Contacts, Calendars”.
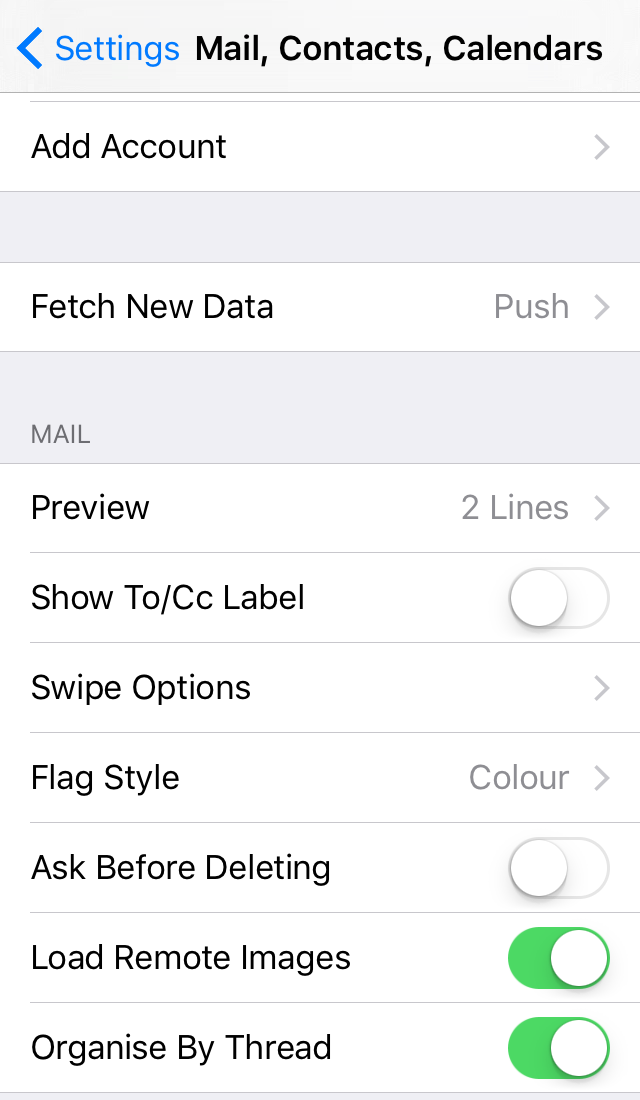
Select “Add account”.
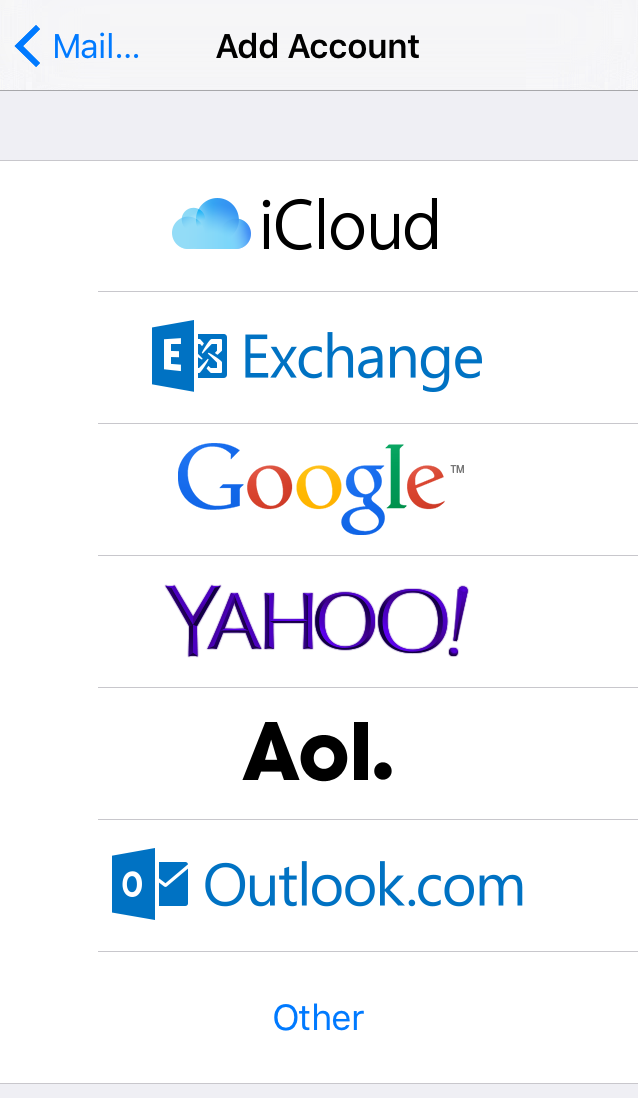
Select “Other”.
Select “Add CardDAV Account”.
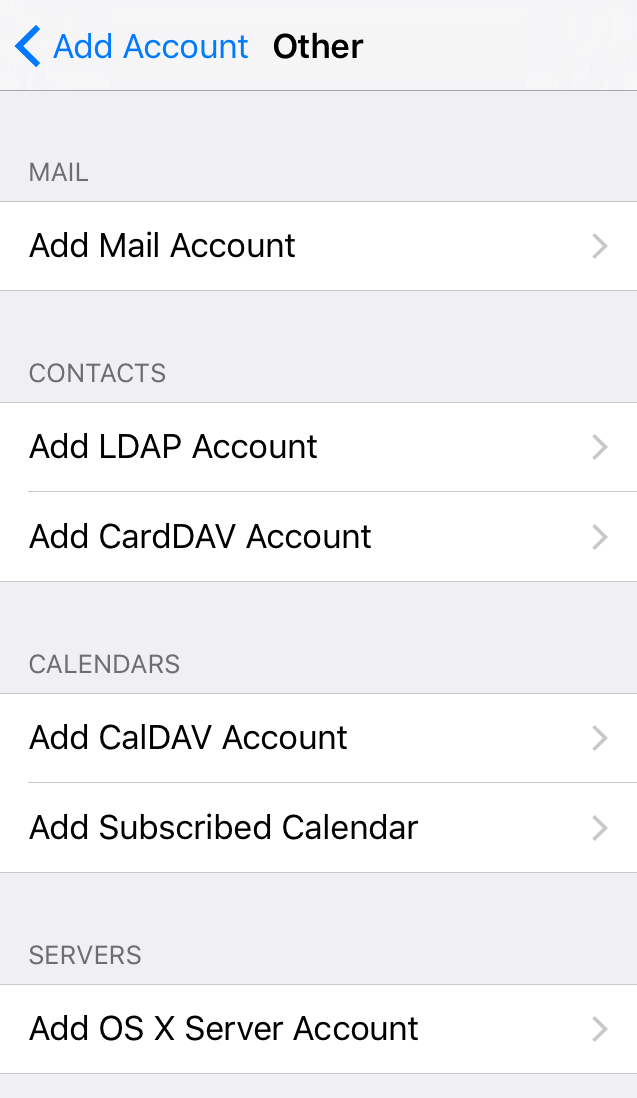
Enter the server information provided by Mixvoip.
Tap “Next” and you’re done. The ownCloud contacts will show up in your phone’s contacts.